Let’s Break Some Eggs - Mobirise 3 Website Development Software Review
Note: It's final part of Mobirise Web Development Software review
‹‹ Read the Part 1 or ‹‹ Read the Part 2
In this section I’m going to share with you some cool techniques about utilizing the code we already have created by the Mobirise Website Development Software and styled through the Properties Panel into a custom HTML code with different functionalities. The idea is to use the most this that we already have and then combine it into something interesting and new. I guess for the less experienced users the words Custom HTML sound kind of scary – at least for me they did at the time, but there is nothing much to worry about – with the vast library of predefined content and the few snippets from this article the most of the work finally comes down to coping and careful pasting parts of code in place. I believe the most difficult code typing task would be to track few words “three” and replace them with “four” “five” and so on – also a great way for a no-coder to take a glimpse to the website from the inside.
Let’s break some eggs and see what will come out!
With the snippets below I tried covering most of the functionality I’ve been missing, but I’m sure once you get the idea if you don’t find what you need neither here or at the Predefined Blocks you will most successfully be able to set it up yourself. Just don’t forget to share your success with the Mobirise community in order to help a fellow Mobirise user with similar issue.
Download Mobirise Website Development Software Now!
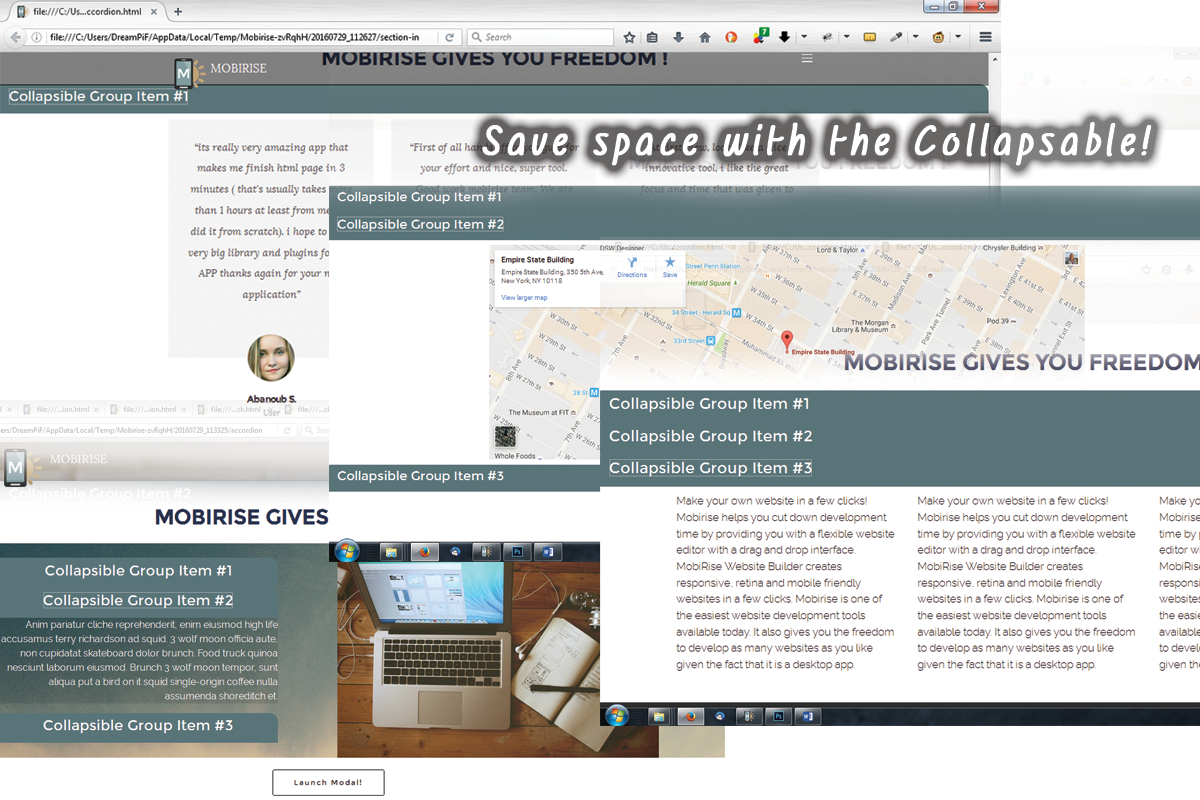
Save some space with the collapsible
As we all know a lot of content or especially plain text can bore the user to a point to browse away from your site and never to come back. This of course is not what we want. This is where collapsible panel groups come in aid. You could place almost any predefined block’s content and thus save some space. How – actually much easier than you think.
First of all here are the collapsible panel HTML and CSS codes:
<!-- Collapsible Panel -->
    <div class="container-fluid">
        <div class="row">

        <div id="accordion" role="tablist" aria-multiselectable="true">
  <div class="panel panel-default">
    <div class="panel-heading" role="tab" id="headingOne">
      <h4 class="panel-title">
        <a data-toggle="collapse" data-parent="#accordion" href="#collapseOne" aria-expanded="true" aria-controls="collapseOne">
          Collapsible Group Item #1
        </a>
      </h4>
    </div>
    <div id="collapseOne" class="panel-collapse collapse in" role="tabpanel" aria-labelledby="headingOne">
     Content of the Collapsabe Panel - replace it with yours!
    </div>
  </div>
  <div class="panel panel-default">
    <div class="panel-heading" role="tab" id="headingTwo">
      <h4 class="panel-title">
        <a class="collapsed" data-toggle="collapse" data-parent="#accordion" href="#collapseTwo" aria-expanded="false" aria-controls="collapseTwo">
          Collapsible Group Item #2
        </a>
      </h4>
    </div>
    <div id="collapseTwo" class="panel-collapse collapse" role="tabpanel" aria-labelledby="headingTwo">
      Content of the Collapsible Panel - replace it with yours!
    </div>
  </div>
            <!-- single Collapsible Panel Code -->
  <div class="panel panel-default">
    <div class="panel-heading" role="tab" id="headingThree">
      <h4 class="panel-title">
        <a class="collapsed" data-toggle="collapse" data-parent="#accordion" href="#collapseThree" aria-expanded="false" aria-controls="collapseThree">
          Collapsible Group Item #3
        </a>
      </h4>
    </div>
    <div id="collapseThree" class="panel-collapse collapse" role="tabpanel" aria-labelledby="headingThree">
      Content of the Collapsible Panel - replace it with yours!
    </div>
  </div>
            <!-- to add some more Copy/Paste this part and  replace Three
With Four, then Five and so on -->
</div>
            </div>
    </div>
CSS:
.panel-title, a
    text-decoration:none;
    color:#fff;


.panel-heading
    background-color:#597478;
    padding:0.5em 0.9em;
    border-radius:0.1em 0.9em 0 0 ;

.panel-collapse
    padding:0.6em;
I think the styling options are quite self-explanatory, so won’t bother you with further clarifications.
Now let’s take care of an appropriate place to paste this code in. The Custom HTML block sounds like the most intuitive way to include the code into our Mobirise Project, but I have a better idea – we’ll take advantage of the great and easy styling options of the built in Mobirise Website Development Software panels. To do so you would want to drag in any predefined block having the option of setting a background options – image, overlay, and so on – and adjust them. Then just unlock the custom HTML and remove everything except the overlay wrapper – you’ll recognize it by the .mbr-ovrlay class. Now all you need to do is paste the accordion codes in place and make some minor additional adjustments in the Custom CSS section with this code:
/* *** Setting Section Padding and Overlay position *** */
section
     padding-top:9em;
     padding-bottom:9em;

.mbr-ovrlay
     z-index:-10!important;
That’s it – you’ve created your collapsible panels block! The only thing that remains is to pour some content in them. To create the content we’ll utilize the exactly same technique we used for making place for the accordion in a predefined block, but the other way around. We are going to style a predefined block, add our content in it, unlock the HTML, get all the content between <section> wrappers and pour it back into one or our accordion panels – as simple as that. If you’re placing some blocks with additional Custom CSS styling make sure you transfer the CSS code too in order to obtain the proper block appearance at its new place inside the collapsing panel.
Don’t get confused if the background of the cleared section just before you paste your accordion code disappear entirely – this is quite normal – it will appear back in place as soon as the section have some content to wrap – when you paste the accordion code.
This drill works the other way around too – you can also place the accordion code alongside with a part of a predefined block instead of clearing all the content – for example next to image in one of the Intro blocks – just make sure you replaced the right snippet or just try again
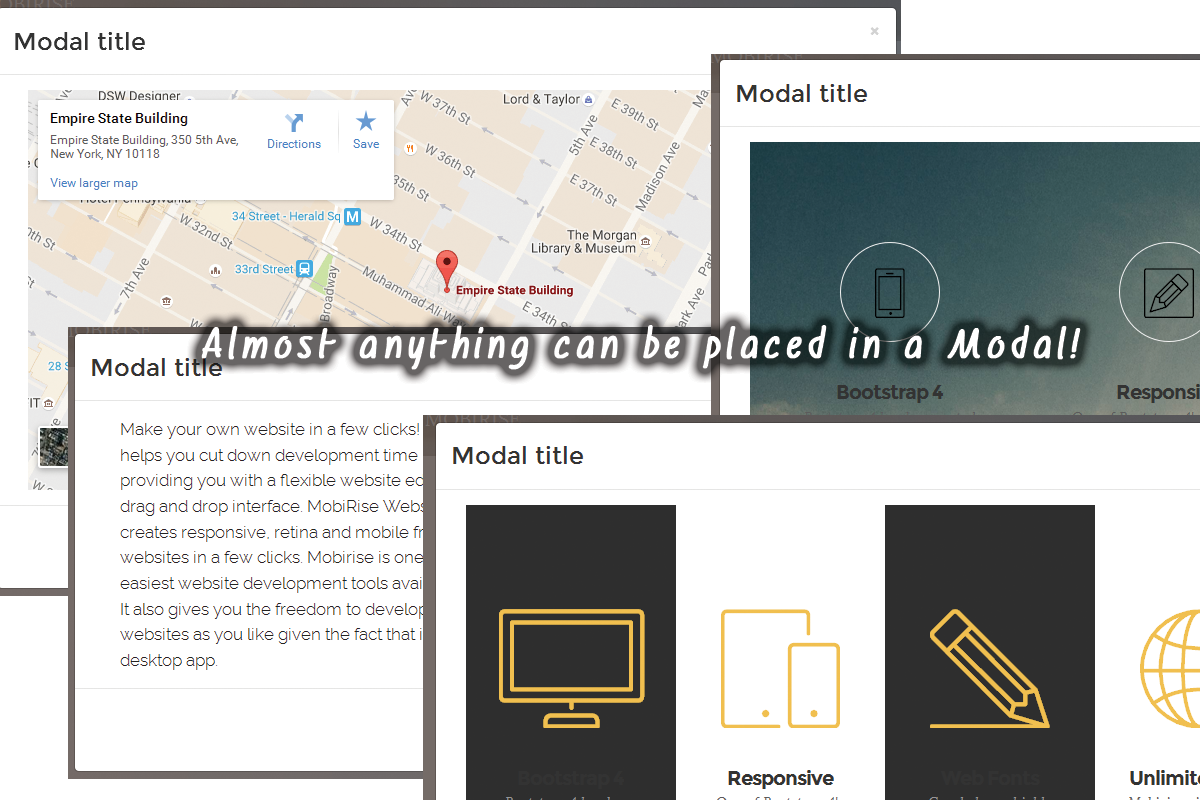
Stashed content waiting for the time it’s needed – The Modal element
Another clever way to clean up your web page and display a content only when it’s needed is the modal element. It works a bit differently than the collapsed panels – being triggered by a button or a link it pops up over the content acting similar to the light box element easily focusing the attention of the user on its content.
Utilizing a Modal Element in Mobirise is much similar to the procedure with the collapsible panel. The difference is this time we need a button to be used as a modal trigger. Luckily for us in Mobirise Website Development Software we have a useful block with two buttons styled both with solid fill and with outline appearance which will become the perfect container for our modal element.
So what we need to do is drag a block with two buttons in, get rid of the one which stile we wouldn’t be using and edit the text of the one we will. Then in the unlocked Custom HTML field we need to remove the href=”….” part and replace it with the code triggering the modal we are about to create. Something like:
<div class="text-xs-center"> <a class="btn btn-black btn-black-outline mbr-editable-button" href="https://mobirise.com/mobirise-free-mac.zip">Launch modal !</a></div>
<div class="text-xs-center"> <a class="btn btn-black btn-black-outline" data-toggle="modal" data-target="#myModal">Launch Modal!</a></div>
Where #myModal should be a unique ID for this and this modal only. If you need more than one modal element at one page you should change this in the entire snippet with some other meaningful name for the second modal e.g. #MySecondModal.
Next we place the Modal code under the button:
HTML:
<!-- Modal -->
<div class="modal fade" id="myModal1" tabindex="-1" role="dialog" aria-labelledby="myModalLabel1" aria-hidden="true">
  <div class="modal-dialog modal-lg" role="document">
    <div class="modal-content">
      <div class="modal-header">
        <button type="button" class="close btn btn-black btn-black-outline" data-dismiss="modal" aria-label="Close">
            <span class="fa fa-close" aria-hidden="true"></span>

        </button>
        <h4 class="modal-title" id="myModalLabel1">Modal title</h4>
      </div>
      <div class="modal-body">
          <div class="container-fluid">
            <!-- Modal Content starts here -->

            <!-- Modal Content ends here -->
          </div>
      </div>
      <div class="modal-footer">
        <button type="button" class="btn btn-secondary" data-dismiss="modal">Close</button>

      </div>
    </div>
  </div>
</div>
And the CSS:
/* style the heading color */
h4
    color:#333;

/* enables the Modal to display correctly with site animation turned ON */
.modal *
    visibility:visible!important;
The next step is absolutely identical as with the collapsible panels – all you need is to set up a predefined block with your content and desired appearance, unlock its HTML, get the entire code and paste it in the appropriate place in the Modal code. That’s it – you’re done!
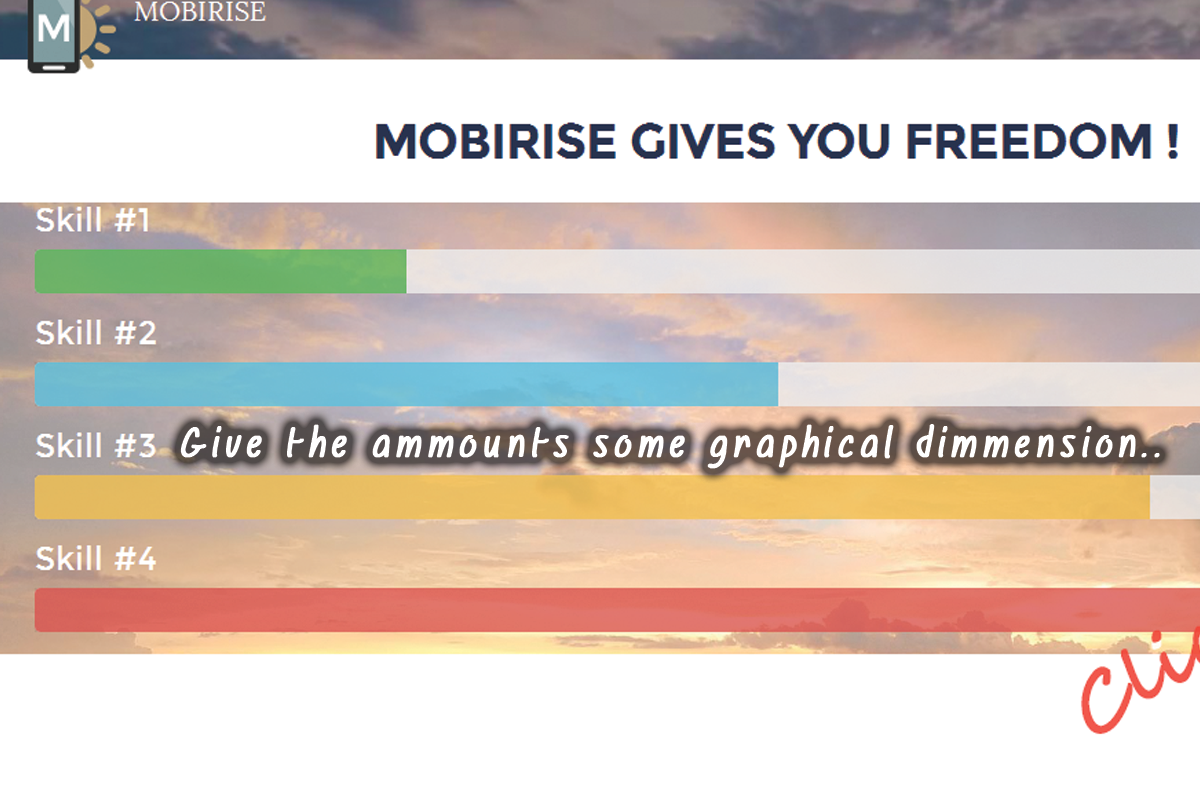
Showing your progress
The progress bars are a fancy way to visually present amounts of something (as the name suggests – most likely the way you value your skills or the phase of completion of a project). They can be quite useful on particular occasions and is actually super easy to implement. In order to have progress bars in your Mobirise Website Development Software built site all you need is a containing block made from one of the predefined ones the way we talked about with the Collapsible and Modals and a simple snippet of code pasted into your already unlocked Custom HTML section, like this:
HTML:
<div class="row">
        <div class="container">
            <div class="col-xs-12 center-text">
                <h4>Skill #1</h4>
                <progress class="progress progress-success" value="25" max="100">25%</progress>
                <h4>Skill #2</h4>
                <progress class="progress progress-info" value="50" max="100">50%</progress>
                <h4>Skill #3</h4>
                <progress class="progress progress-warning" value="75" max="100">75%</progress>
                <h4>Skill #4</h4>
                <progress class="progress progress-danger" value="100" max="100">100%</progress>

            </div>
        </div>
    </div>
And the CSS:
/*adjust progressbar height and overall opacity */
.progress
    height:2em;
    opacity:0.8;


/* this one doesn't show in builder - it styles the empty space color */
.progress[value]
    background-color:rgba(0,0,0,0.1);

/* style the caption */
h4
    color:#fff;

/*sets the overlay layer behind */
.mbr-overlay
    z-index:-10!important;

section
    padding-top:9em;
    padding-bottom:9em;
If you need more – just duplicate down the <h4> and <progress> pair and style the results when satisfied with the content – that’s it – easy, isn’t it?
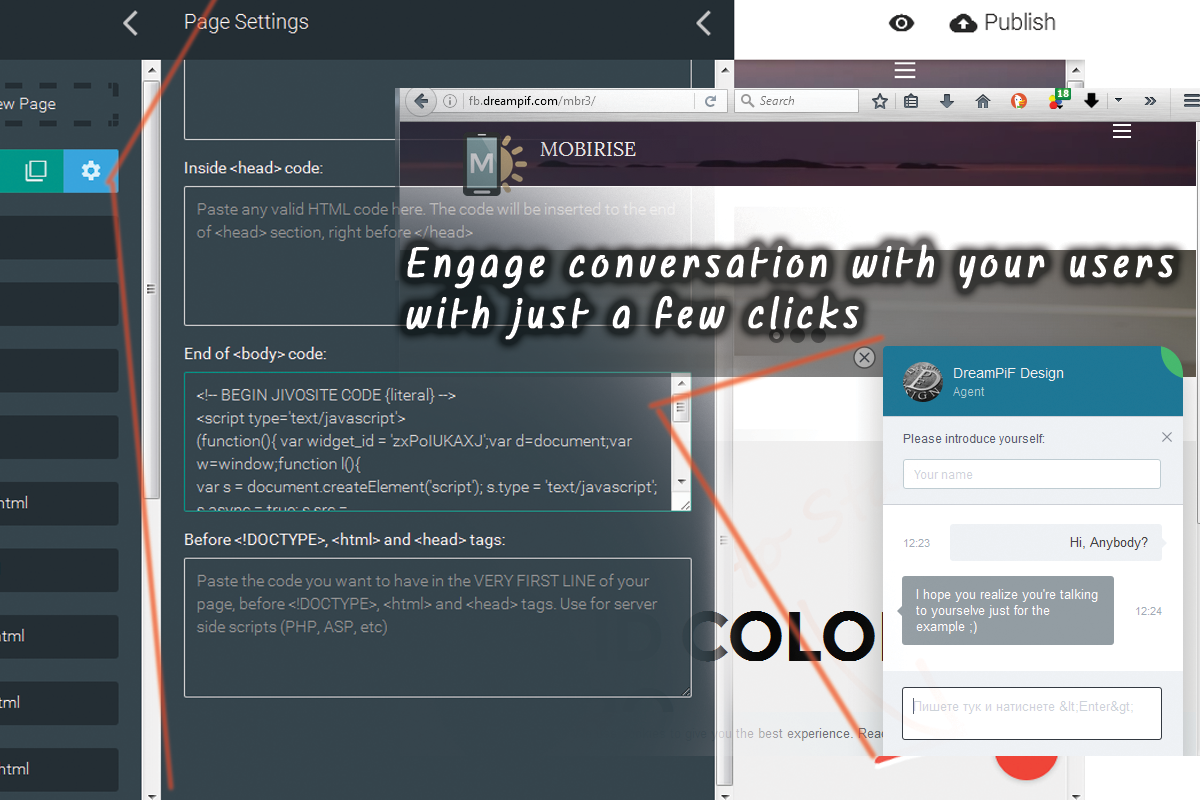
Let’s chat!
I’m sure you have at least crossed paths with a website with a popping up chat window where somebody asks how he or she can be of any assistance. It’s a bit annoying at certain occasions but generally I think this is a useful function giving the site professional look. It also helps improve productivity if the client wondering about something gets just the right amount of encouragement to start a conversation with you. A conversation which can eventually grow up into a successful business relationship. If you also think this kind of functionality is rather useful and would like to utilize in your site I’ve got good news for you – with Mobirise Website Designing Software this can be done easy and fast as a breeze – let’s take a look how.
The general sequence is this:
You find an online chat service and create an account.
They ask you a couple of questions to complete your account and shortly give you a script snippet to paste usually right before the end of the <body> tag of your site.
You copy that code and in Mobirise Website Development Software go to the left sidebar > Pages > AnyPage.html > the gear button and maybe scroll a bit down in order to reveal the End of <body> code: field.
Now just paste the code you’ve just copied from the chat service website – you’re good to go.
It’s a good thing to note that previewing the website offline or the published webpages on your computer will not trigger any chat window at all but will display just fine once you publish your site online.
So you’ve got a chat functionality, what’s next? Next you could customize the chat panel appearance, connect this chat with your mobile phone, social platforms accounts or even download and install a chat application depending on the chat provider you chose. And since it’s a global world we’re living in you might be needing some interface language different than English – many of the chat services providers have predefined languages and some even give you the freedom to set your own interface strings.
Which are the good chat service providers – this you should decide for yourself considering your or your client’s individual preferences and needs. So without any intentions to guide your decision in one way or another I’m just going to share a chat service I’ve discovered recently, utilize and find quite useful – Jivochat – it has a free account with multiple customization and localization options supporting up to 5 agents, mobile, in browser and Desktop integration – if you haven’t chosen yet, I think it’s worth the try.
Conclusion
Today we wondered a lot through the vast fields of fast and fun creation of totally responsive websites with our favorite Mobirise Website Development Software and its bright new third version powered by the latest Bootstrap 4 framework. We looked in details at all the cool newly introduced features and all the ways to utilize them and expand their great functionality to the limit. We even explored some ways of creating new and unique custom tailored blocks to help us achieve the goals we need. This journey is coming to an end.
But before I wish you happy designing there is one more thing I would like to share with you.
Mobirise Webdev Software in in my opinion the greatest fastest and easiest responsive web pages builder you could find on the Net today. And to make things even better all this web creation power comes to you entirely free. Now everybody has the power of creating great websites with ease. But in order to publish a magnificent website hitting a million visits from the first month online you need one more thing – a strong concept and appealing content. Last month a web site mocking ridiculous and meaningless administration act got thousands of hits and shares and news site publications. It consisted only of <h1-4> and <p> tags (Headings and Paragraphs) but had a strong and actual message to convey – take a minute to think about this.
So think about your concept carefully. Don’t be afraid to experiment with different layouts and appearances – it is so easy to create them with Mobirise Website Development Software anyway. Show your beta versions to real people which opinion counts for you and listen to what they have to say. You could even utilize the great one click form setup feature Mobirise Builder provides you and ask your clients for some feedback after the web site goes online – after all what we build we build not for ourselves but for the users, for the audience we imagine to reach.
Have confidence in your skills no matter if you are already an expert or just throwing shy glimpses over the code. HTML and CSS are easy and intuitive – learning them is much like learning the local slang being new in the hood – all you need is practice, repetition and a pinch of courage to start doing it at first place. With Mobirise Builder you have the perfect environment to grow up without any pressure applied to you – you can achieve 80-90% of the common website appearances without even sniffing the code. But if you have in mind something a bit different – you’ll have to do a little reading and most importantly – trying and observing the results. The decision is entirely yours.
Mobirise Website Development Software fits quite well its name – from the first version I downloaded it never stopped rising. Each announced update caries something significant and useful often – a few things. Do have confidence – even if a functionality you happen to need isn’t available in the predefined blocks today – it’s most probable you’ll see it in the next update. The development team listens and tries to keep up with user’s needs but somebody should share in order to give them some clues. Be a part of the Mobirise Community – don’t be afraid to share what you need and what you’ve achieved with Mobirise. Some of the greatest ideas and coolest features to use I’ve found on the Mobirise forums or helping a fellow Mobirise user. If you haven’t already – you should try it too.
Have fun and Happy designing!