- WebsiteBaker
- API
- Google Drive
- Google Sites
- Yahoo SiteBuilder
- Issue
- Mobile
- Customizing
- Tutorial
- Watermark
- Free Download
- Crack
- Dreamweaver
- Xara
- Coffeecup
- Blogger
- Iweb
- Wordpress
- Video Tutorial
- Weebly
- PHP
- ASP.NET
- Joomla
Slider Demos
-
 carousel jquery
Boundary Design
with Blur Effect
carousel jquery
Boundary Design
with Blur Effect
-
 javascript gallery
Megalopolis Template
with Slices Animation
javascript gallery
Megalopolis Template
with Slices Animation
-
 jquery slider carousel
Mac Layout
with Stack Effect
jquery slider carousel
Mac Layout
with Stack Effect
More Demos: Bootstrap carousel, Slick slider, Bootstrap slider, HTML slider, Slick carousel, Bootstrap carousel, HTML slideshow, CSS Slideshow, jQuery carousel, Image carousel
Xara Web Designer - Integrating WOW Slider
In this tutorial we will be looking at integrating a slider created in WOWslider into Xara Web designer.
1. Publish your WOWSlider
You should have already created your slideshow, using the WOWSlider software (if you don’t have WOWSlider, you can download it from wowslider.com). In order to get the completed slider into Xara Web Designer, we first need to publish it.
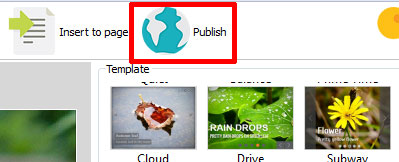
Open your slider in WOWSlider, and go to the ‘publish’ button in the top menu.
The ‘Publish’ window will open, and you’ll see several different options for exporting your slider. The one we want to use is the top one: ‘Publish to folder’. Choose the right folder to export you slider to — it should be the same folder you plan to save your webpage to later on.
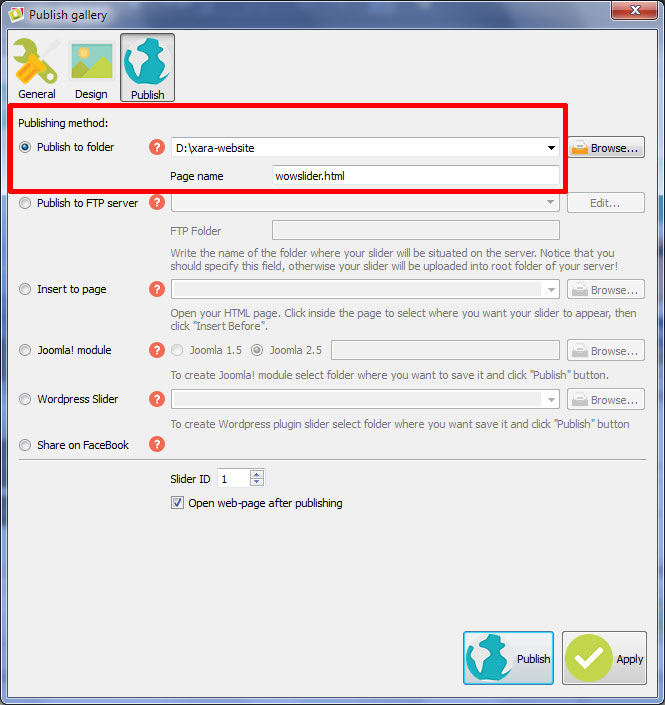
Make sure that your WOWSlider page name is not 'index.html'.This is to avoid this file having the same name as the index file exported later by Xara Web Designer.
Finally, make sure you have the ‘Open web-page after publishing’ option checked.
Click on ‘Publish’.
2. Open the source code for the slider
After you click publish, the 'How to' page will open in your browser. Here you can see the slider and the instructions below it.
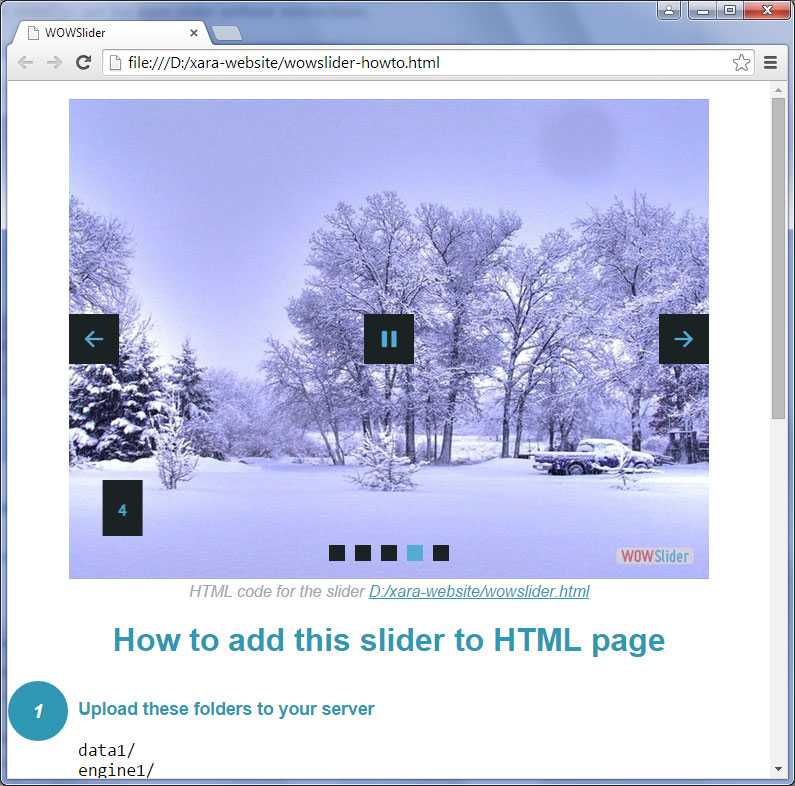
You can test the slideshow by clicking on navigation arrows and bullets and making sure you’re happy with the overall look and feel.
Once you’re satisfied everything is working you need to copy the source code.
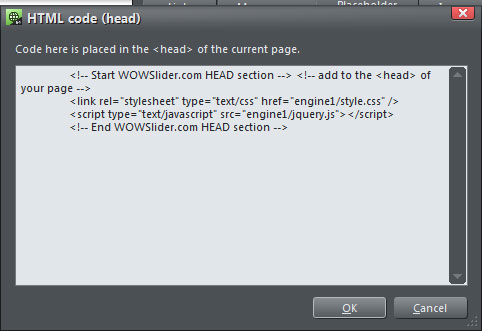
3. Copy the ‘head’ section of the WOWSlider code
We are now going to copy the first part of the code. We need the HEAD section, which is everything from
<!- - Start WOWSlider.com HEAD section - ->to
<!- - End WOWSlider.com HEAD section - ->.Make sure you copy everything contained within that section.

4. Open the webpage in Xara Web Designer
Open Xara Web Designer, and open the webpage you want to add the slider to.
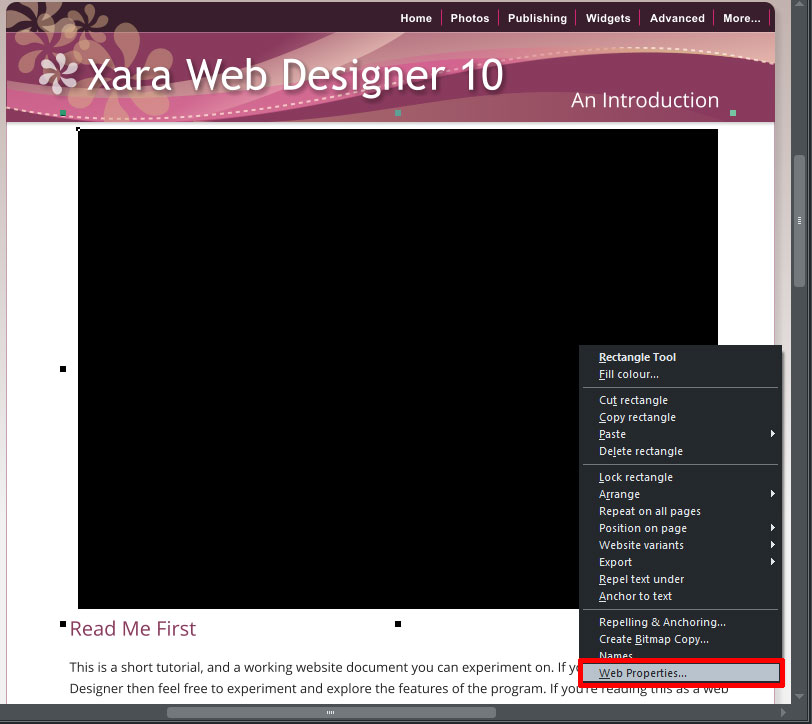
Start by going to the ‘rectangle tool’ in the left-hand navigation bar and draw a quick rectangle in the workspace where you want the slider to appear. Set the dimensions of the rectangle to the same size as your image slider, by editing the Width and Height values in the toolbar.

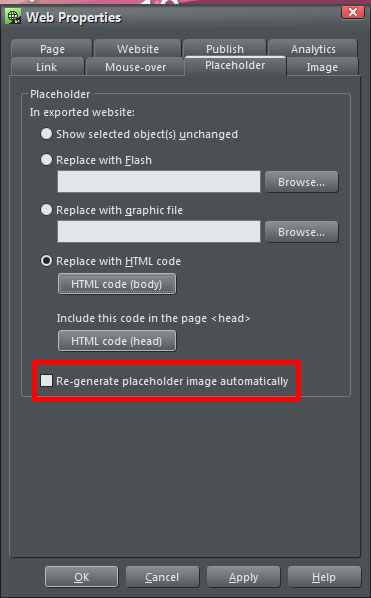
Right-click on the rectangle and go to ‘Web Properties’.
The Web Properties window will open. There are several tabs at the top of this window, you should click on the ‘Placeholder’ tab.
In this tab there is a button that says HTML Code (head) and has a description ‘Include this code in the page <head>.
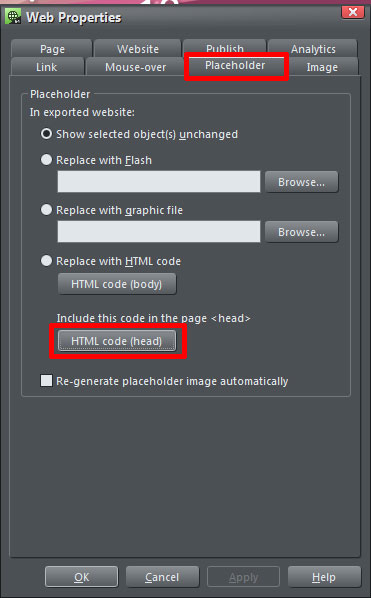
Click on this button. Paste the code you copied from the source code into this window.
Hit ‘OK’.
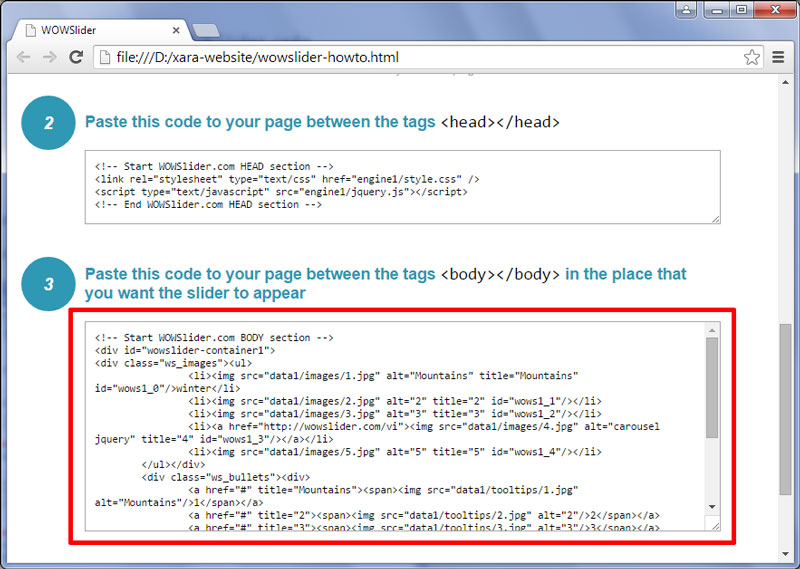
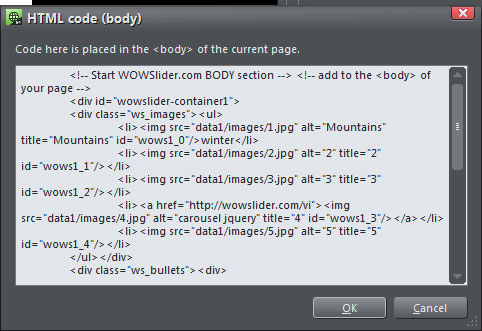
5. Get the ‘body’ section of the WOWSlider code
Return to the web browser window that contains your source code.
We’re now going to copy the main body WOWSlider HTML code. This time we’re going to copy everything between
<! - - Start WOWSlider.com BODY section - ->and
<! - - End WOWSlider.com BODY section - ->.Make sure you copy everything in this section.
6. Add the body code in Xara Web Designer
Return to Xara Web Designer.
This time we are going to click on the button that says HTML code (Body) and has the description ‘Replace with HTML code’.
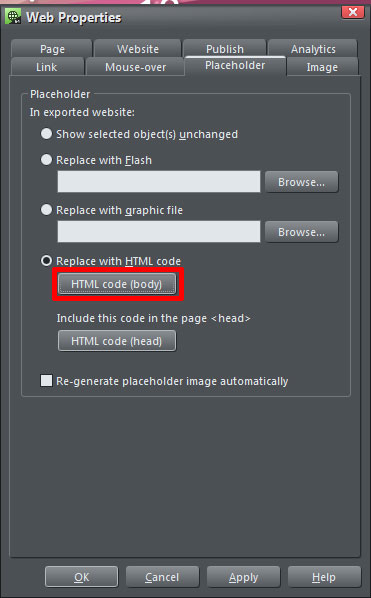
Paste the code you copied from the WOWSlider into the window and click OK.
Do not check the ‘Re-generate placeholder image automatically’ option. Instead, simply click OK.
7. Save the webpage
Hit Ctrl-S to save the webpage. You will want to save the webpage into the same folder as the WOWSlider published to.
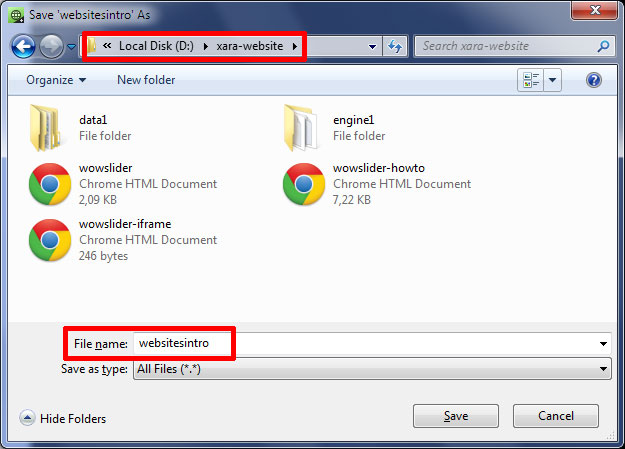
Once you have saved that file, you now want to export the website. Go to ‘File’ and ‘Export Website’.
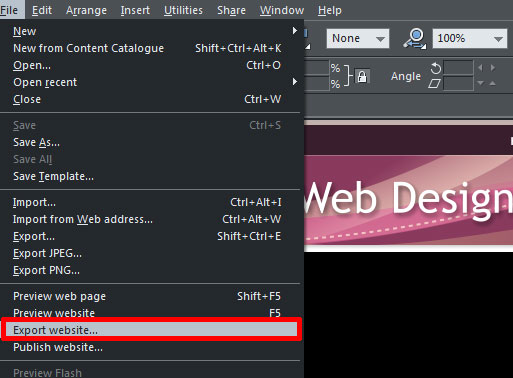
Once again, you need to export the website into the same folder as the WOWSlider files.
Select that folder, and then click ‘Export’.
Now open index.htm file from the website folder.
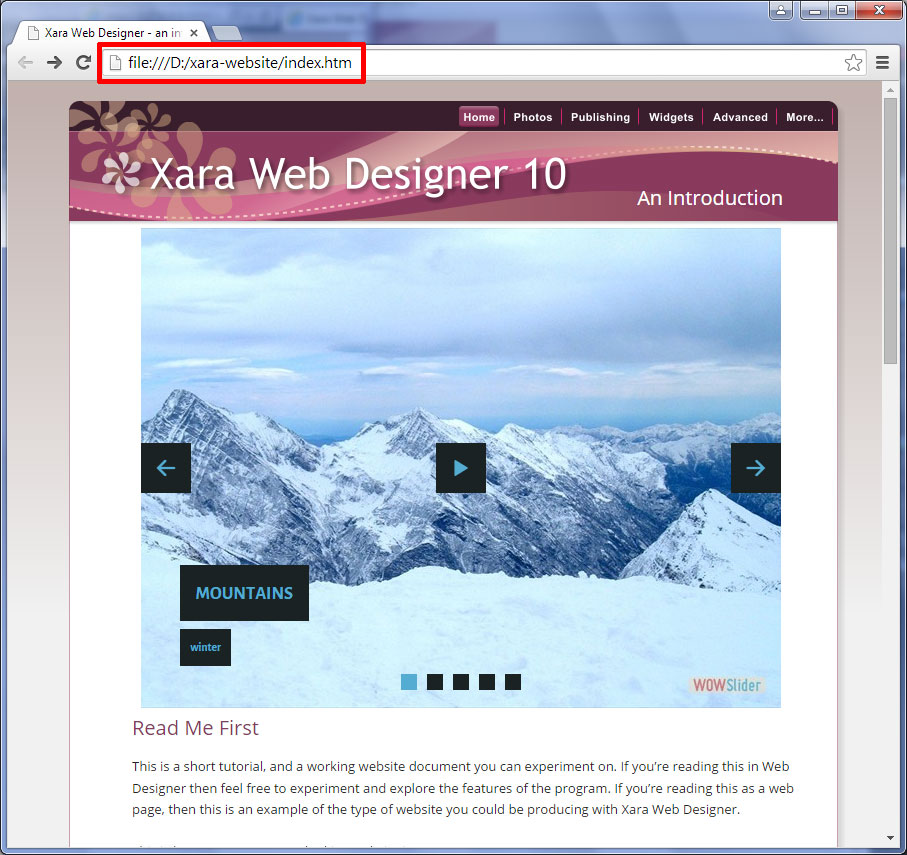
You will see that the slider appears on your webpage, exactly as it should be.
And that is how you integrate a WOWSlider into your Xara Web Designer webpage.