- WebsiteBaker
- API
- Google Drive
- Google Sites
- Yahoo SiteBuilder
- Issue
- Mobile
- Customizing
- Tutorial
- Watermark
- Free Download
- Crack
- Dreamweaver
- Xara
- Coffeecup
- Blogger
- Iweb
- Wordpress
- Video Tutorial
- Weebly
- PHP
- ASP.NET
- Joomla
Slider Demos
-
 html5 slider
Sunny Layout
with Fade Animation
html5 slider
Sunny Layout
with Fade Animation
-
 js image slider
Premium Design
with Page Animation
js image slider
Premium Design
with Page Animation
-
 web photo gallery
Subway Design
with Basic Transition
web photo gallery
Subway Design
with Basic Transition
More Demos: Bootstrap carousel, Slick slider, Bootstrap slider, HTML slider, Slick carousel, Bootstrap carousel, HTML slideshow, CSS Slideshow, jQuery carousel, Image carousel
How to make and add the awesome jQuery Slider to your HTML page
1. Create the webpage where you will be using the jQuery slider
Your HTML page might be completed except for the slideshow, or you might have just started developing it. Before you can add the slider code to your HTML page, you should first make sure you have your divs set up. This is so you have a div ready for you to add your slider jQuery code too.
2. Create your slideshow
Open WOW jQuery Slider software. WOW Slider is free, however the free version includes logos and advertisements. This is OK if you are practicing, or testing the slideshow to see how it looks. However if you like this kind of slider then you should buy the pro version to remove the advertising.
Open your website folder. Ideally, you should have some images in a folder in your site, ready for the slideshow. These images should be resized in Photoshop, so that they are the perfect size for your slideshow. Ideally each one should be the same size, and none of them should be over 100k in size. For example, you could create every image to be 960 x 300 pixels.
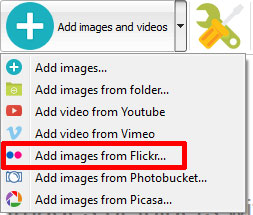
Highlight all of the images in the website folder, and drag and drop them into WOW Slider. Each image becomes a slide. Also you may want to add some photos from photo hostings. WOW jQuery Slider supports Flickr, Photobucket, Picasa. Now let's add some photos from Flickr.

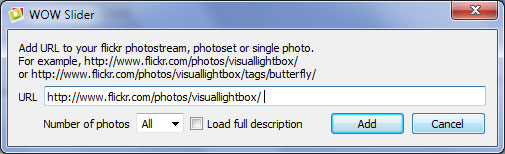
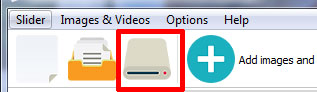
To do this click on the 'Add images and videos' button at the top of the application window and then click 'Add images from Flickr'.
You will see you have space on each slide for adding detail. For example, you can add a title. The URL field is a link, so if you fill that in, when somebody clicks on the image they will be taken to that URL. If you don’t want the slide to be clickable, then you don’t need to add anything to that field.
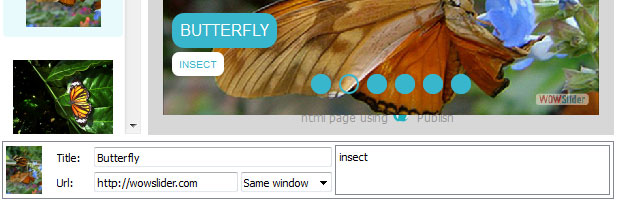
The title and description fields create the caption. So, for example if you had a travel website with images of holiday destinations, you could put the title Adaman Sea, and the description Thailand to create an appropriate caption.
You want the titles and descriptions to be consistent across each slide.
In the top navigation bar you will see options to add and delete images and curved arrows that allow you to rotate the images.
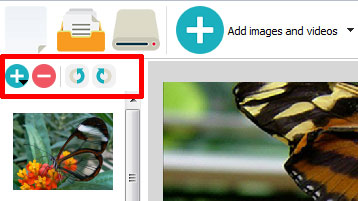
We can also save the slider jQuery we are currently working on by clicking on the save button (looks like a floppy disc).
3. Set the properties
We want to set the properties of our slideshow. We do this by clicking on the properties button (looks like a spanner).

Give your slideshow a title, for example Website Slideshow.

You’ll find lots of different options for your slider. You can decide whether it should autoplay, whether it should pause on mouse-over, or whether it should have bullet navigation — which produces little dots that people can use to navigate through the slideshow with — or filmstrip navigation.
For the sake of this tutorial, leave everything as default, with the bullet navigation. Click to the ‘images’ tab, and select the Terse theme. If the images you added were 960 x 360, you can use the 960 x 300 setting for the slideshow size. Otherwise select the appropriate size. Make sure preserve aspect ratio is selected, as the images are all the correct size.
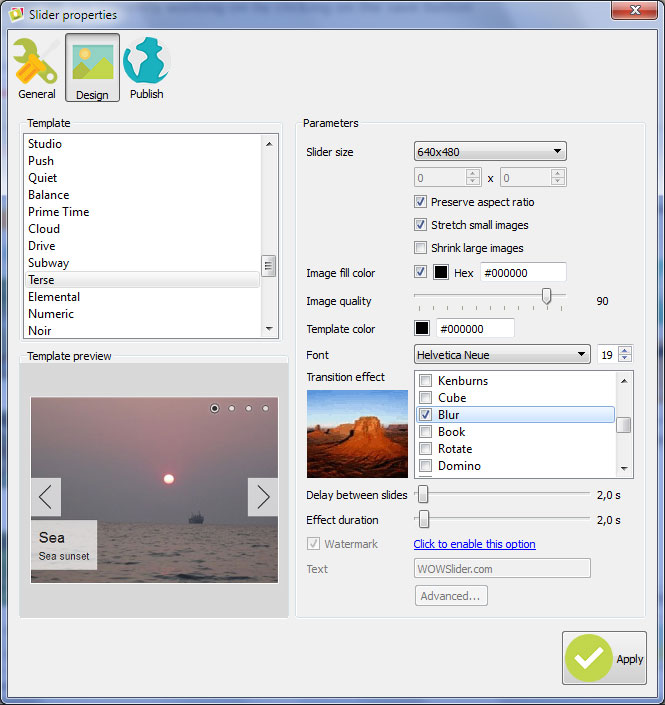
Pick a transition effect, for example blur.
4. Publish the slider
If you click to the ‘publish’ tab, you will see there are a few options to choose from. You can publish to a folder, you can upload to a server or you can insert into a page. The ‘insert to a page’ is the option we are going to use. Select the option and click on the browse button.

Navigate to the page you want the jQuery slider to appear on. Then click 'Publish'. It will open within WOW Slider, and allow you to select exactly where you want the code inserted.
Find the correct div for your slideshow and click inside it. Check the HTML in the sidebar to make sure it’s being inserted exactly where you want it to be.
Click on the ‘insert before’ button. It will preview where it will be, but don’t worry if it looks a little bit odd at this stage.
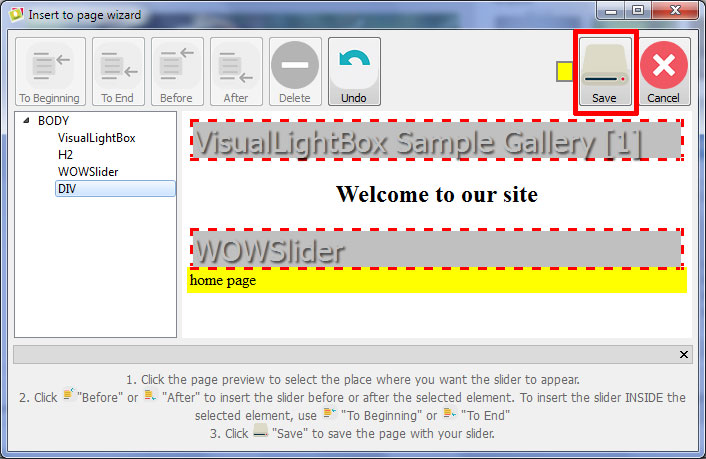
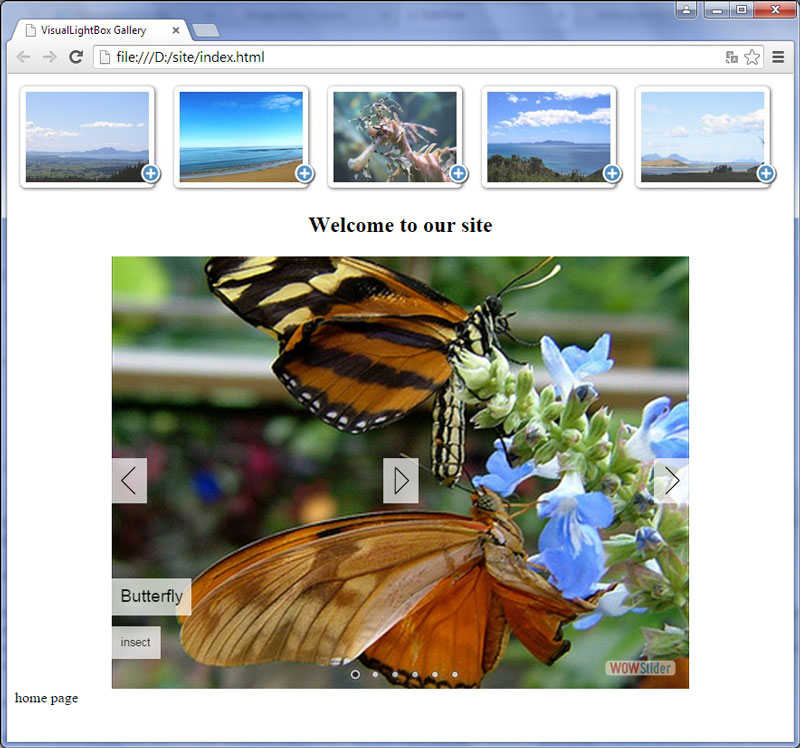
Click on ‘Save’, and the site will open in your browser. You will see that the slider has been added to your page. The title and caption are showing, you can click through the bullet navigation to test it and so on.
If you have any trouble, you can always go into your html and delete the slider html code. This is easily done by selecting everything between the start and end WOW Slider comment tags and deleting it. You can then go back into your slideshow and make changes, then republish in the exact same way. You just have to remember to delete the code each time you want to make changes.