- WebsiteBaker
- API
- Google Drive
- Google Sites
- Yahoo SiteBuilder
- Issue
- Mobile
- Customizing
- Tutorial
- Watermark
- Free Download
- Crack
- Dreamweaver
- Xara
- Coffeecup
- Blogger
- Iweb
- Wordpress
- Video Tutorial
- Weebly
- PHP
- ASP.NET
- Joomla
Slider Demos
-
 bootstrap slider
Bootstrap Template
with Basic Linear Effect
-
 jquery photo gallery
Strict Skin
with Photo Transition
-
 html5 image slider
Crystal Design
with Basic Effect
More Demos: Bootstrap carousel, Slick slider, Bootstrap slider, HTML slider, Slick carousel, Bootstrap carousel, HTML slideshow, CSS Slideshow, jQuery carousel, Image carousel
Create a banner using WOW Slider and add to a webpage using Dreamweaver
In this tutorial we are going to create a banner using WOWSlider. To start, you should have some images ready to go, and some text to use with each image. You should have a webpage that you have created in Dreamweaver that has a div ready for the banner.
1. Open WOWSlider and create your banner
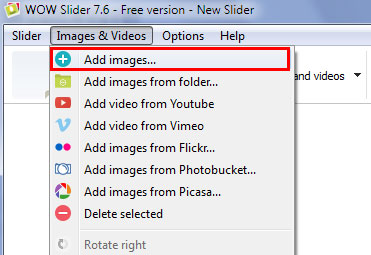
Begin by opening up the WOWSlider program. Add your images. You can drag and drop them in, or you can go to 'Images & Videos' —> 'Add images' in the menu.

Make sure your images are in the right order. You can drag and drop your images into the right order.
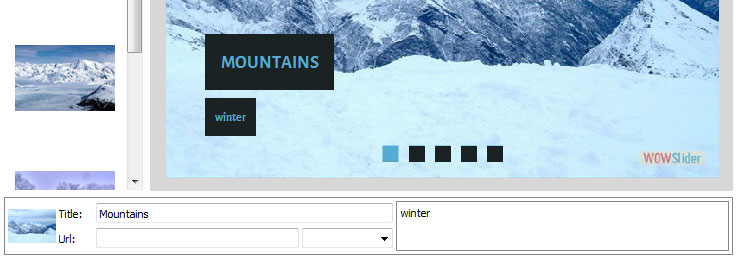
Add a title for the first picture. Fill into the ‘title’ field, and the description into the ‘Description’ field.

You can leave the URL field blank, unless you want to send people to a website.
2. Set options
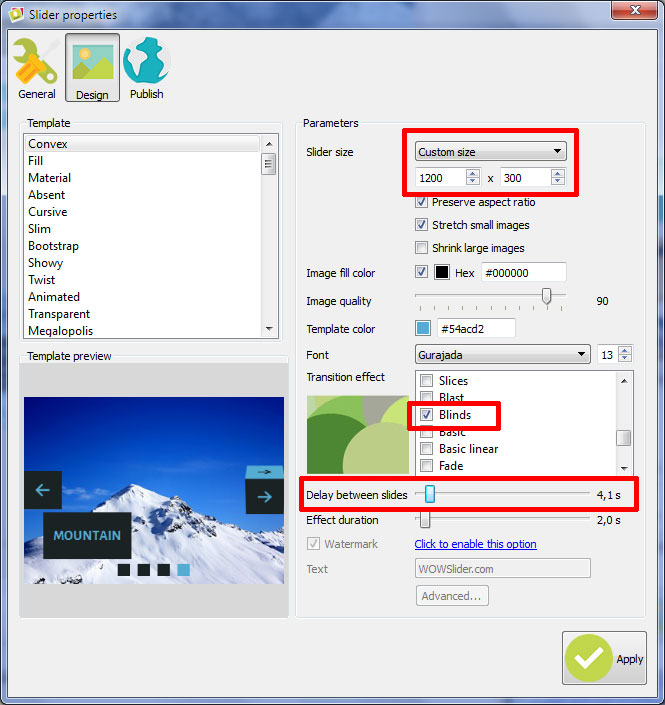
You need to set the options and the size for your banner. Open the options panel by clicking on the spanner icon in the top navigation bar.

Click to the ‘Design’ tab, and change the size of your banner. In this example, we set it to a custom size of 1200px, which will fill the entire width of the website, and 300px high, which is the size of our top banner.
There are different transition effects you can choose from. In this example, we chose ‘blinds’ as it looks interesting.
Increase the delay between slides to around 4 seconds. You can do this by adjusting the slider.

All other settings have been left as default in this example, but you can adjust any of them as needed.
3. Publish the banner
Click on the ‘publish’ button in the top navigation. You can change the name of the file, which you may want to do if you save it into a folder with an existing index.html file. In this example, we have renamed the file to ‘wow.html’.
Click on browse, and navigate to the folder where your website is saved. WOWSlider will create the files necessary for the banner to operate, so you must select the website folder.
Click ‘publish’. You will see that the banner is not inserted into our index page, so this is what we are going to do now.
4. Insert the banner

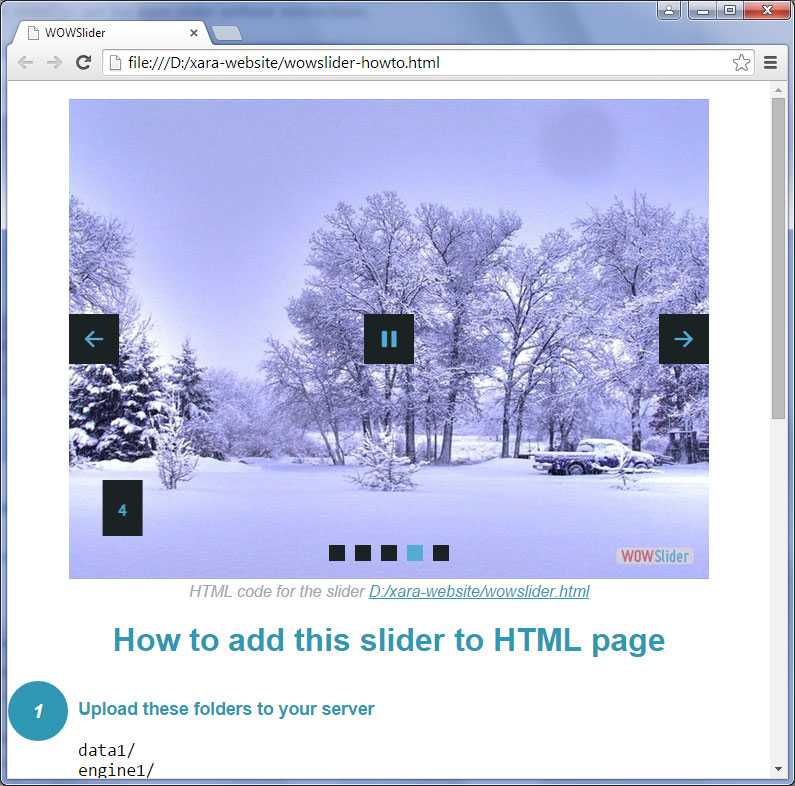
Open the ‘wow-howto.html’ file that you created in the previous step. You will see a lot of code has been inserted.
Copy a code for the HEAD section.

Open Dreamweaver drag and drop website builder.
Go to your index page, look at it in the code view, and paste the code inside the header section — it doesn’t matter where.
Go back to the wow-howto.html code. Also you will see the code for the HEAD section there. This is the code that will go into your banner div. Copy this code.
Go back to the index page, and past the code between the opening <div> for the banner and the closing </div> for the banner.
Save the file.
Click on the ‘split’ mode to see the preview. The banner will not function correctly, as it is within the editor. To view the banner as it will appear in a browser, press F12.