- WebsiteBaker
- API
- Google Drive
- Google Sites
- Yahoo SiteBuilder
- Issue
- Mobile
- Customizing
- Tutorial
- Watermark
- Free Download
- Crack
- Dreamweaver
- Xara
- Coffeecup
- Blogger
- Iweb
- Wordpress
- Video Tutorial
- Weebly
- PHP
- ASP.NET
- Joomla
Slider Demos
-
 slick slider
Slick Template
with Bubbles Effect
slick slider
Slick Template
with Bubbles Effect
-
 css3 slideshow
Pure Design
with Domino Effect
css3 slideshow
Pure Design
with Domino Effect
-
 jquery carousel
Vernisage Template
with Stack vertical Effect
jquery carousel
Vernisage Template
with Stack vertical Effect
More Demos: Bootstrap carousel, Slick slider, Bootstrap slider, HTML slider, Slick carousel, Bootstrap carousel, HTML slideshow, CSS Slideshow, jQuery carousel, Image carousel
How to add WOWSlider to Blogger
1. Go to 'Publish tab' and click 'Publish to FTP server'. Make sure that your files are uploaded to your server.
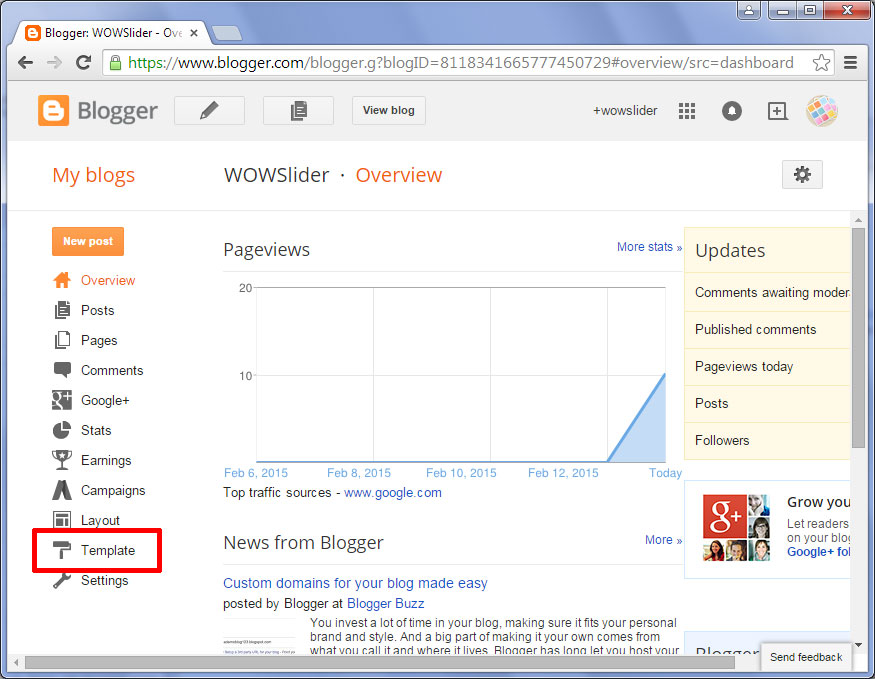
2. Log in to your Blogger dashboard.
Create your blog, then click on 'Template' on the right side of the screen
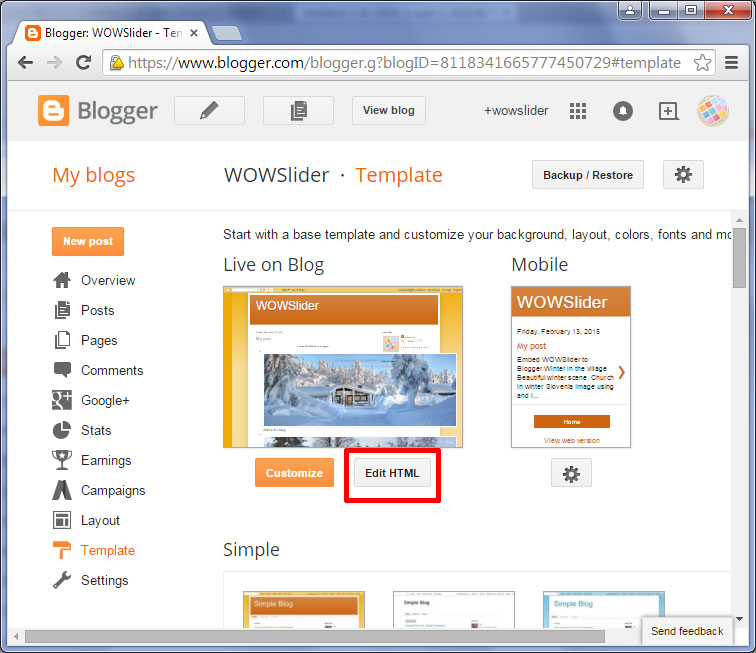
Click on 'Edit HTML' button.
Now, go to your own webpage (or some webhost where you have transferred your WOWSlider) where you had published your WOWSlider. It should read something like "http://yourname.com/slider/wowslider.html" or some URL where you had uploaded your images.
(In this tutorial we use the slider uploaded to wowslider.com).
Open the wowslider-howto.html page. Select and copy the code for the HEAD section.

Go back to the Blogger. Paste the copied code into the HEAD section on your Blogger template page. Be sure to Preview and backup your template page somewhere first before you click 'Save template'.
Notice that you should have absolute paths to all the files you add. As an example, look how to add the style.css file correctly.
<link rel="stylesheet" type="text/css" href="http://wowslider.com/sliders/demo-82/engine1/style.css" />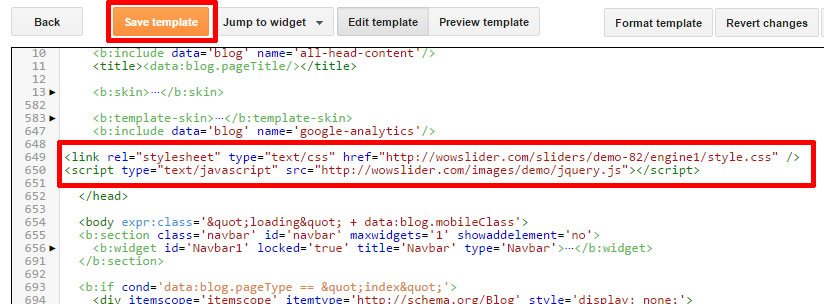
Click 'Save template' now.
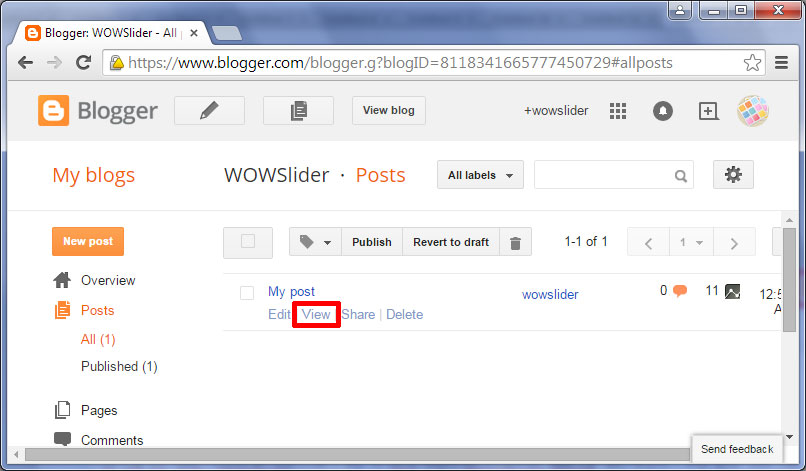
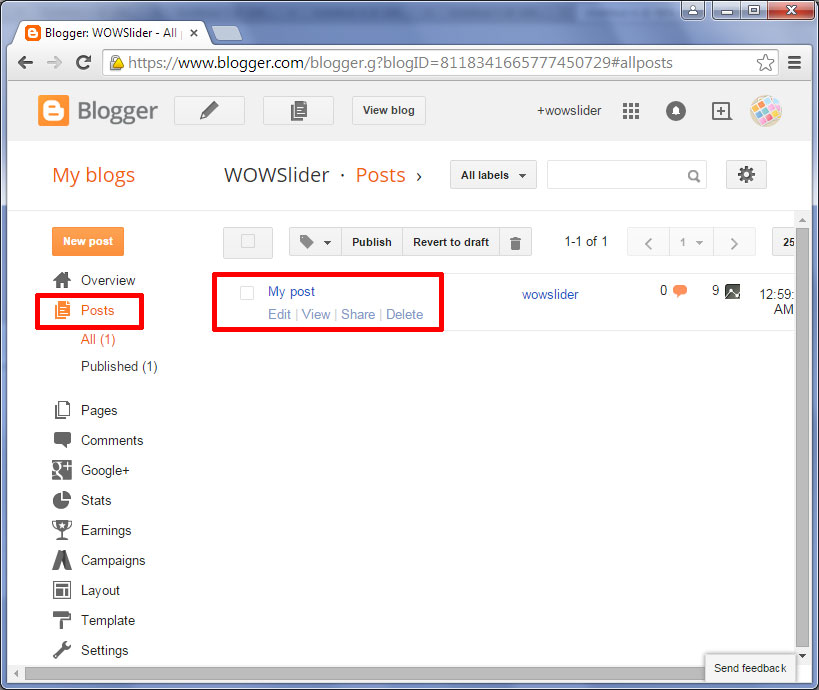
Now you can create a new post or edit the existing one. Click 'Posts' on the left panel and choose the post you want to edit.
Click on the 'HTML' to embed the html code to your post.
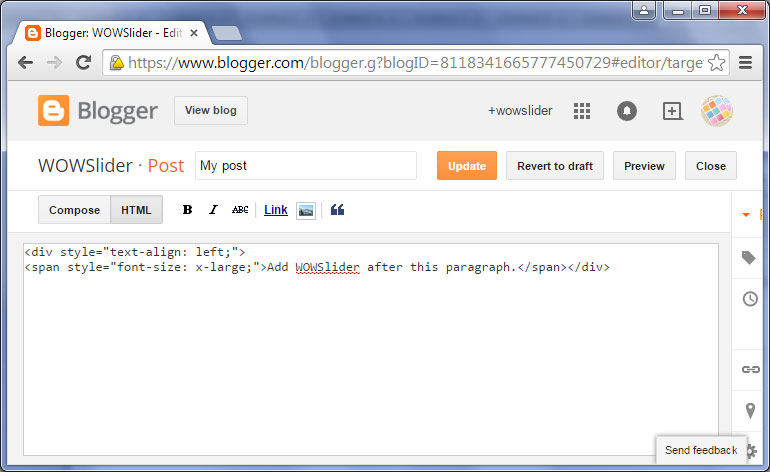
Go back to your wowslider-howto.html file, select and copy the code for the BODY section.
Paste this code on your Blogger post (in html view).
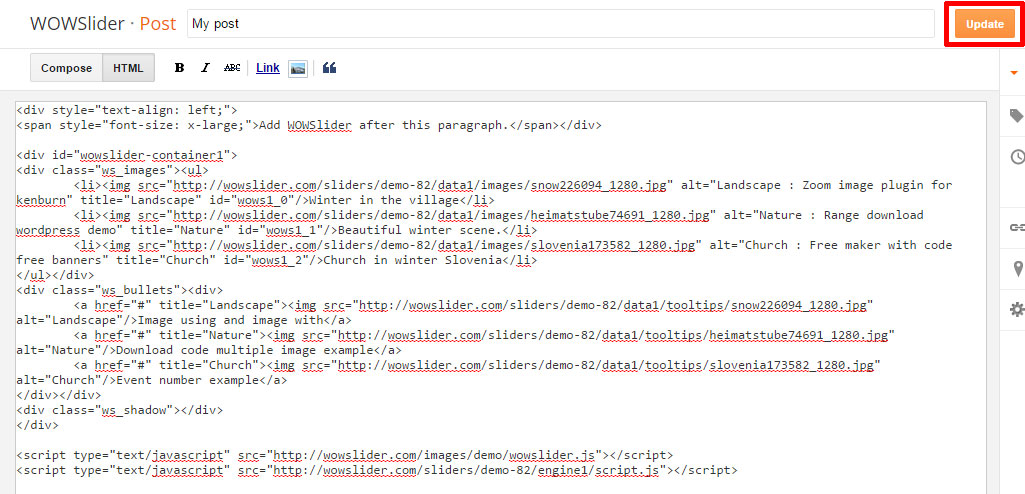
Now look carefully at your code. You should correct all the links in your embedded html code.
For example:
<div class="img"><img src="data1/images/snow226094_1280.jpg"></div>should look like:
<div class="img"><img src="http://wowslider.com/sliders/demo-82/data1/images/snow226094_1280.jpg"></div>Click the 'Update' button to save your post.
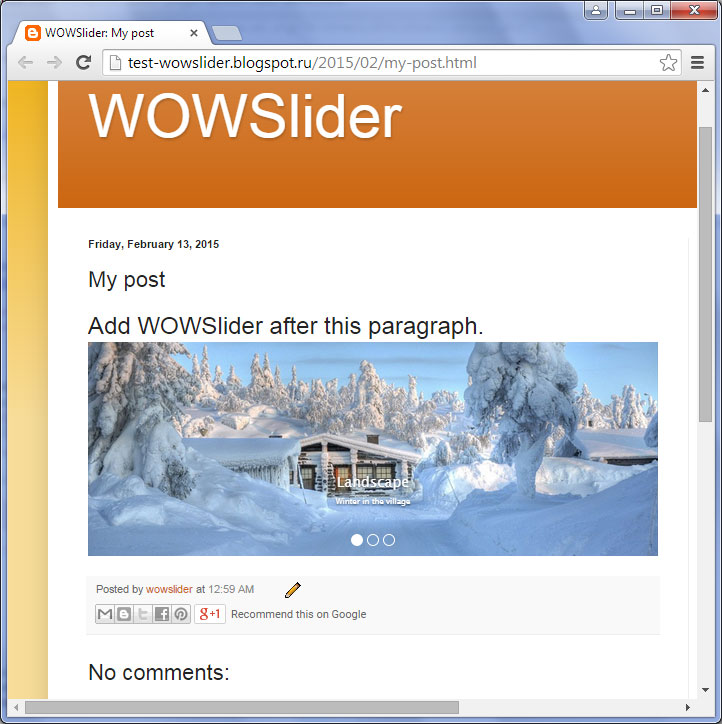
And finally 'View' your page with an embedded WOWSlider!