- WebsiteBaker
- API
- Google Drive
- Google Sites
- Yahoo SiteBuilder
- Issue
- Mobile
- Customizing
- Tutorial
- Watermark
- Free Download
- Crack
- Dreamweaver
- Xara
- Coffeecup
- Blogger
- Iweb
- Wordpress
- Video Tutorial
- Weebly
- PHP
- ASP.NET
- Joomla
Slider Demos
-
 responsive slider
Convex Skin
with Basic Transition
-
 wordpress gallery
Sky Layout
with Blur Effect
-
 automatic jquery slider
Noir Layout
with Squares Effect
More Demos: Bootstrap carousel, Slick slider, Bootstrap slider, HTML slider, Slick carousel, Bootstrap carousel, HTML slideshow, CSS Slideshow, jQuery carousel, Image carousel
How to add a slider to Google Sites
1. Create a slider using WOWSlider app.
You can find more info about it here: tutorial 1, tutorial 2
If you create the slider with the filmstrip or thumbnails you'll have to manually rename all generated images for them in the generated folder.
2. Create the file for WOWSlider gadget.
Open any text editor (for example Notepad) and insert the following code:
<?xml version="1.0" encoding="UTF-8" ?>
<Module>
<ModulePrefs title="WOWSlider test" height="100">
<Require feature="dynamic-height"/></ModulePrefs>
 <Content type="html">
 <![CDATA[

 Here is the place for WOWSlider code.

 ]]>
 </Content>
</Module>
3. Place WOWslider code into the gadget file.
Open the generated 'wowslider-howto.html' file from the folder where you have published your slider.
Copy a code for the HEAD and BODY sections.
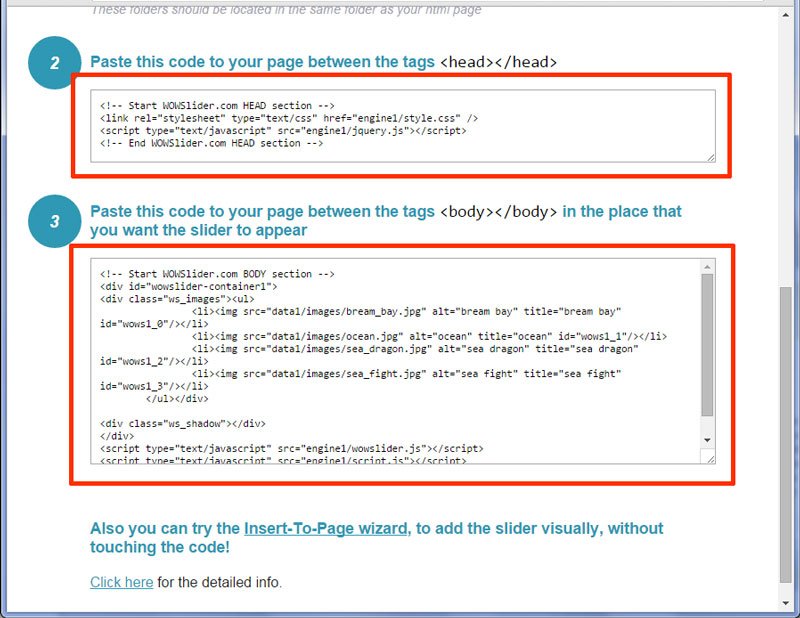
Paste it into the text document for our gadget.
Notice you should change the paths to the WOWslider files ("your_site" is your domain name):
<?xml version="1.0" encoding="UTF-8" ?>
<Module>
<ModulePrefs title="WOWSlider test" height="100">
<Require feature="dynamic-height"/></ModulePrefs>
 <Content type="html">
 <![CDATA[

	<!-- Start WOWSlider.com HEAD section -->
	<link rel="stylesheet" type="text/css" href="https://sites.google.com/site/your_site/style.css" />
	<script type="text/javascript" src="https://sites.google.com/site/your_site/jquery.js"></script>
	<!-- End WOWSlider.com HEAD section -->

	<!-- Start WOWSlider.com BODY section --> <!-- add to the <body> of your page -->
	<div id="wowslider-container1">
	<div class="ws_images"><ul>
		<li><div class="img"><img src="https://sites.google.com/site/your_site/1.jpg" alt="1" title="1" id="wows1_0"/></div></li>
		<li><div class="img"><img src="https://sites.google.com/site/your_site/2.jpg" alt="2" title="2" id="wows1_1"/></div></li>
		<li><div class="img"><img src="https://sites.google.com/site/your_site/3.jpg" alt="3" title="3" id="wows1_2"/></div></li>
		<li><div class="img"><img src="https://sites.google.com/site/your_site/4.jpg" alt="4" title="4" id="wows1_3"/></div></li>
	</ul></div>

	<div class="ws_shadow"></div>
	</div>
	<script type="text/javascript" src="https://sites.google.com/site/your_site/wowslider.js"></script>
	<script type="text/javascript" src="https://sites.google.com/site/your_site/script.js"></script>
	<!-- End WOWSlider.com BODY section -->

 ]]>
 </Content>
</Module>
4. Save the gadget file:
File->Save as..
Write the file name as Gadget.xml

Notice the encoding of the document should be UTF-8.
5. Upload the Gadget.xml file.
Sign in to your Google Sites account.
Upload the created .xml file to your Google Sites attachments:
Manage site->Attachments->Upload
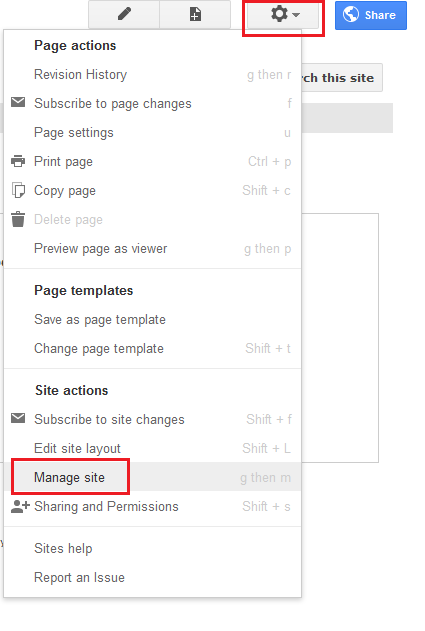


6. Upload the WOWSlider files.
Upload all generated files from Data1 and Engine1 folders the same way.
Notice do not upload the images from "tooltips" folder if you haven't renamed them before(step 1).
7. Insert the gadget to the page.
Copy the URL location of the attached Gadget.xml file (you can right-click the Download, then copy link address - remove the ?attredirects=0&d=1 )
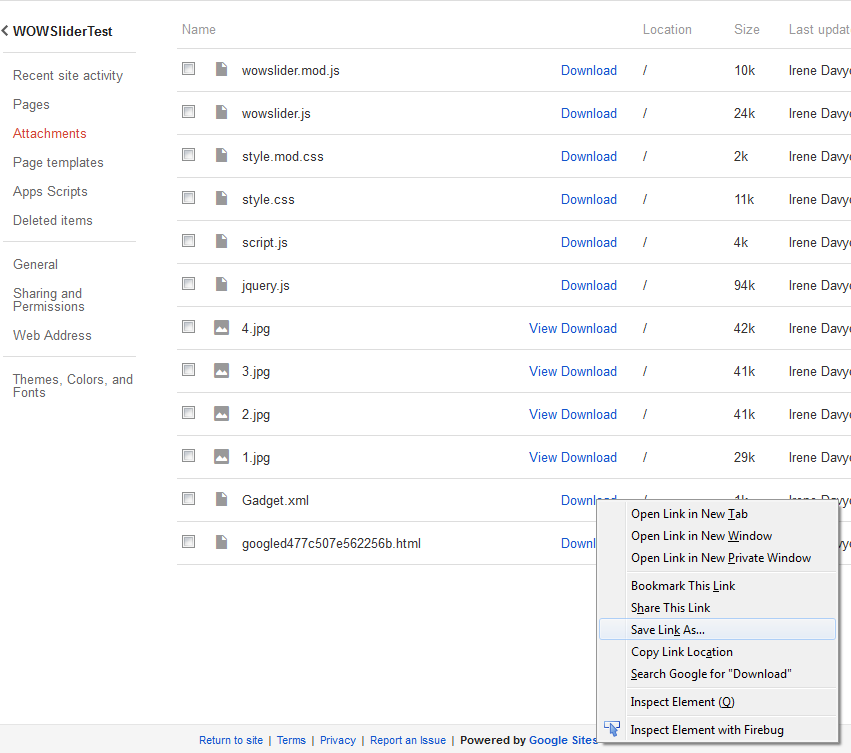
Go to your page in Edit mode and click
Insert ... More Gadgets ... Add gadget by URL
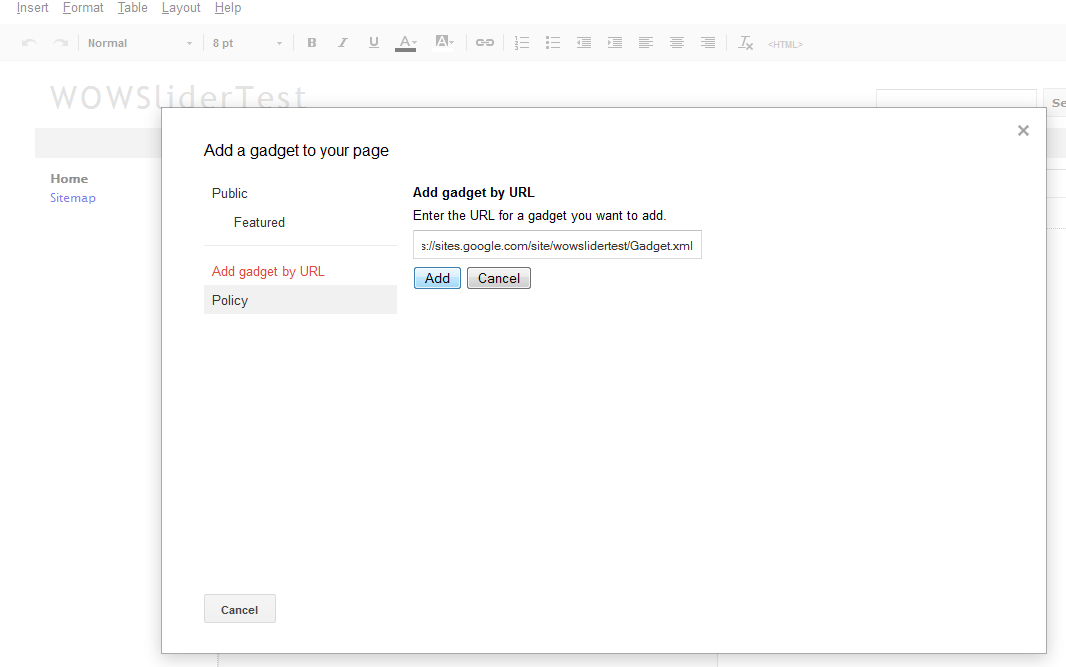
Paste the URL of the wowslider gadget .xml you copied earlier.
Set the width and height for the gadget. Then un-check the border/scroll and title option of the gadget.
Save the page.
That's all.
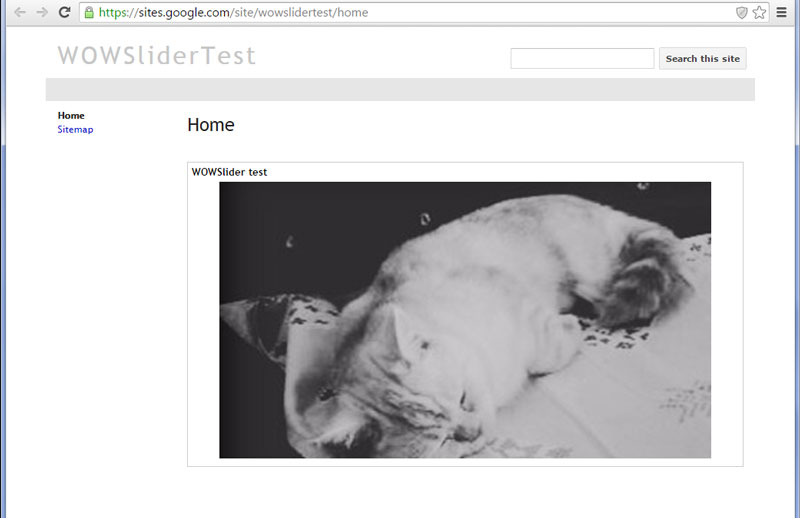
Now you have a slider on your google site!
