- WebsiteBaker
- API
- Google Drive
- Google Sites
- Yahoo SiteBuilder
- Issue
- Mobile
- Customizing
- Tutorial
- Watermark
- Free Download
- Crack
- Dreamweaver
- Xara
- Coffeecup
- Blogger
- Iweb
- Wordpress
- Video Tutorial
- Weebly
- PHP
- ASP.NET
- Joomla
Slider Demos
-
 slider html
Twist Template
with Glass Parallax Transition
slider html
Twist Template
with Glass Parallax Transition
-
 javascript slideshow
Quiet Layout
with Rotate Animation
javascript slideshow
Quiet Layout
with Rotate Animation
-
 ajax jquery slider
Pulse Style
with Blinds Effect
ajax jquery slider
Pulse Style
with Blinds Effect
More Demos: Bootstrap carousel, Slick slider, Bootstrap slider, HTML slider, Slick carousel, Bootstrap carousel, HTML slideshow, CSS Slideshow, jQuery carousel, Image carousel
Adding WOW Slider to Weebly
1. Create your slideshow using WOWSlider.
We won't pay much attention to the details of creating the slider. You can see another tutorials to understand how to use the WOWSlider application:
Adding the WOWSlider to your website
How to create an image slider and add it into your HTML File
2. Publish your slider to any test folder
- open Slider->Publish or click 'Publish' button on the main menu panel
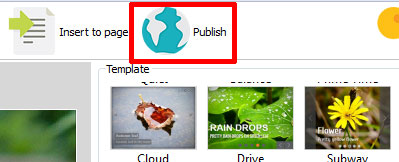
- select 'Publish to folder', click 'Browse' button and select any local folder
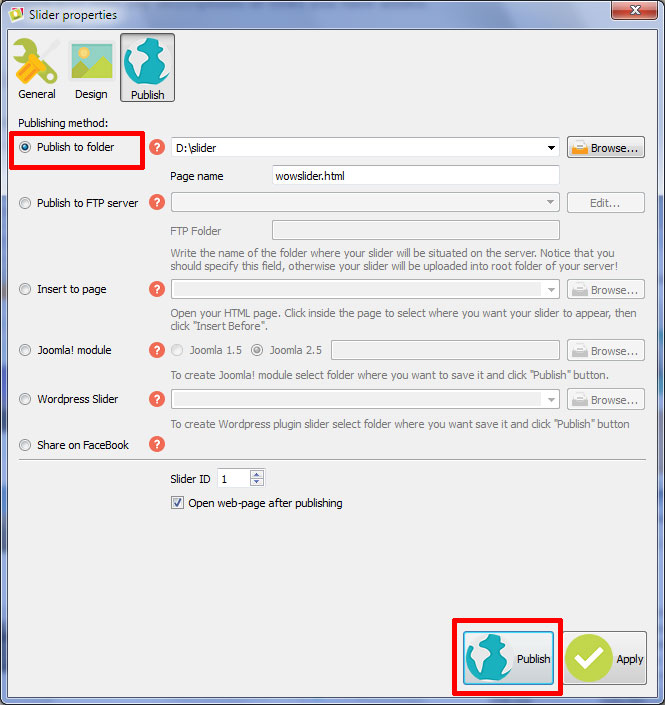
- click 'Publish' button
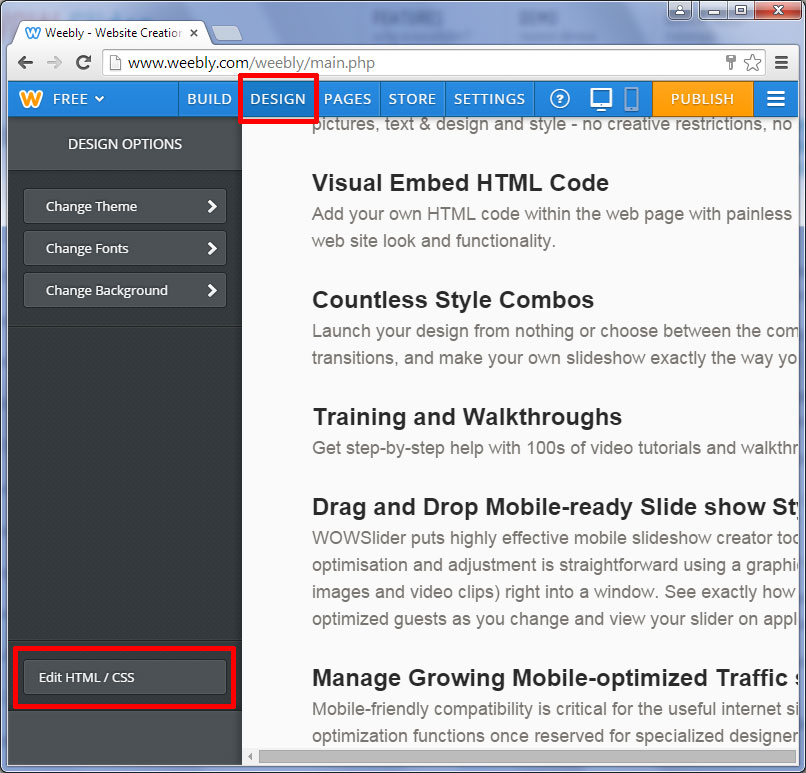
3. Upload files to your weebly site builder.
Click on 'Design' at the top of the window. Then click 'Edit HTML/CSS'.
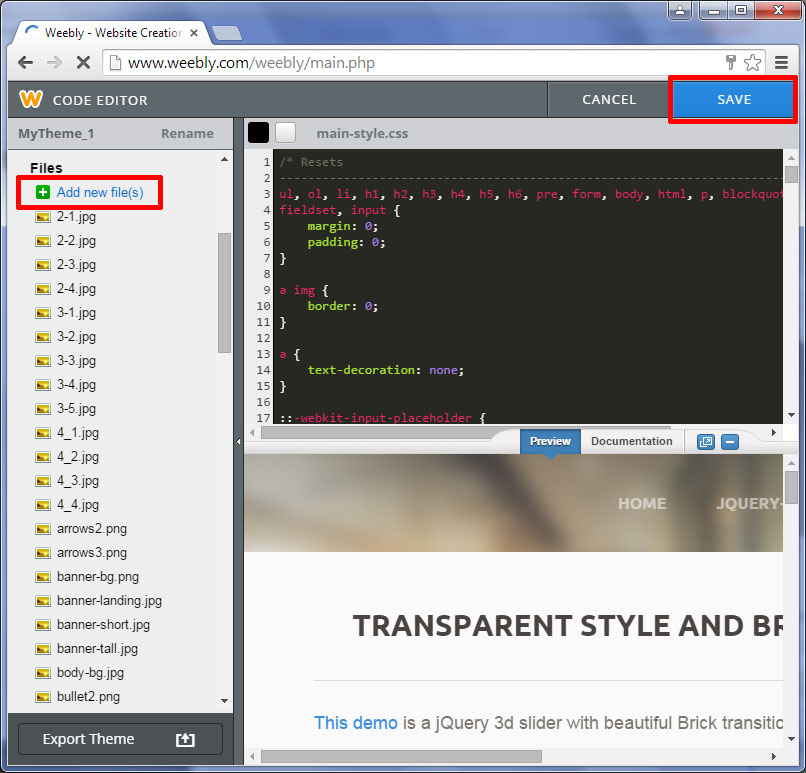
Find the 'Files' header and click 'Add new file(s)'.
Find your WOWslider folder where you have published the slider.
You'll find 'engine1' and 'data1' folders there.
You should upload all generated files from these folders separately. (Also you are allowed to rename all the files as you wish).
Attention: some effects (for example: blast, brick) may not appear correctly due to the limited size of html snippet. To prevent it you should add this code to the beginning of your style.css file before uploading it to weebly:
.wcustomhtml {
 overflow-y: visible !important;
}
Click on the 'Save' button at the top right corner when you have uploaded all the necessary files.
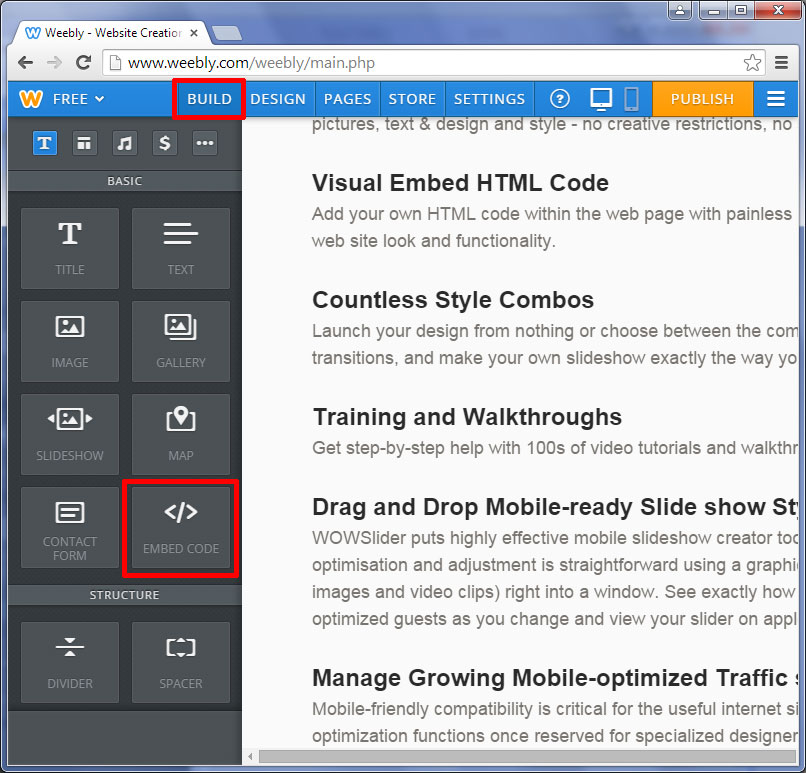
4. Embed the WOWSlider code to weebly.

Copy the code for HEAD and BODY sections of WOWSlider and paste it inside the html
snippet in the place where you want to have a slider.
Now it is necessary to edit the links in your code. You should use absolute paths to all files.
For example:
<link rel="stylesheet" type="text/css" href="engine1/style.css" />should be edited like this:
<link rel="stylesheet" type="text/css" href="http://yoursitename.weebly.com/files/theme/style.css" />where 'yoursitename' is the name of your site.
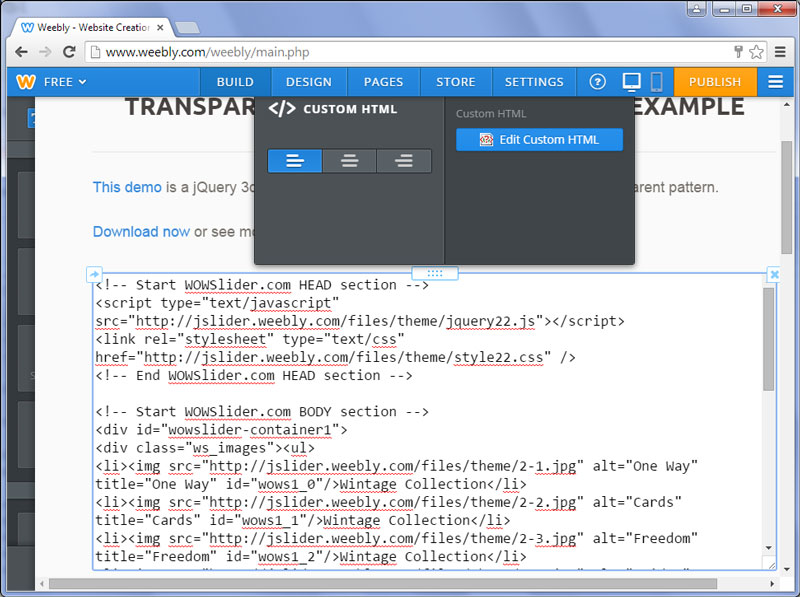
See the sample of Weebly web page with WOWSlider: transparent-brick-demo
Its code:
<!-- Start WOWSlider.com HEAD section -->
<script type="text/javascript" src="http://jslider.weebly.com/files/theme/jquery22.js"></script>
<link rel="stylesheet" type="text/css" href="http://jslider.weebly.com/files/theme/style22.css" />
<!-- End WOWSlider.com HEAD section -->

<!-- Start WOWSlider.com BODY section -->
<div id="wowslider-container1">
<div class="ws_images"><ul>
<li><div class="img"><img src="http://jslider.weebly.com/files/theme/2-1.jpg" alt="One Way" title="One Way" id="wows1_0"/></div>Wintage Collection</li>
<li><div class="img"><img src="http://jslider.weebly.com/files/theme/2-2.jpg" alt="Cards" title="Cards" id="wows1_1"/></div>Wintage Collection</li>
<li><div class="img"><img src="http://jslider.weebly.com/files/theme/2-3.jpg" alt="Freedom" title="Freedom" id="wows1_2"/></div>Wintage Collection</li>
<li><div class="img"><img src="http://jslider.weebly.com/files/theme/2-4.jpg" alt="Bridge" title="Bridge" id="wows1_3"/></div>Wintage Collection</li>
</ul></div>
<div class="ws_bullets"><div>
<a href="#" title="One Way"><div class="img"><img src="http://jslider.weebly.com/files/theme/t2-1.jpg" alt="One Way"/></div>1</a>
<a href="#" title="Cards"><div class="img"><img src="http://jslider.weebly.com/files/theme/t2-2.jpg" alt="Cards"/></div>2</a>
<a href="#" title="Freedom"><div class="img"><img src="http://jslider.weebly.com/files/theme/t2-3.jpg" alt="Freedom"/></div>3</a>
<a href="#" title="Bridge"><div class="img"><img src="http://jslider.weebly.com/files/theme/t2-4.jpg" alt="Bridge"/></div>4</a>
</div></div>

<a href="#" class="ws_frame"></a>
<div class="ws_shadow"></div>
</div>

<script type="text/javascript" src="http://jslider.weebly.com/files/theme/wowslider22.js"></script>
<script type="text/javascript" src="http://jslider.weebly.com/files/theme/script22.js"></script>
 <!-- End WOWSlider.com BODY section -->
5. Publish your weebly site.
Click on the 'Publish' button situated in the top-right corner.

Here is your Weebly site with an embedded WOWSlider!
